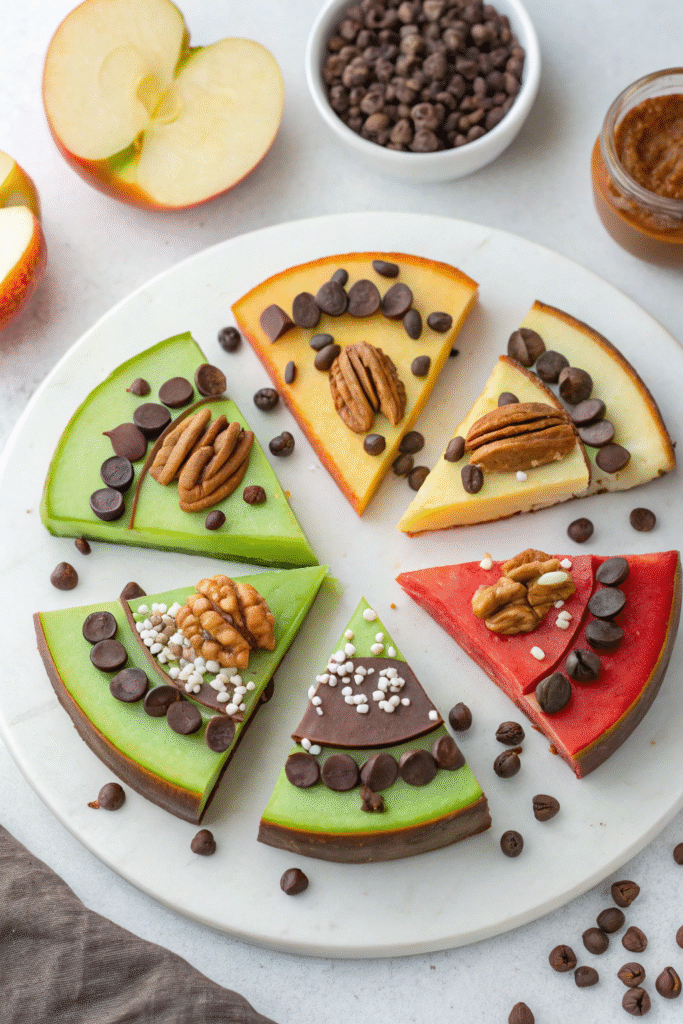
Who knew apple slices could get such a glow-up? 🍏✨ I remember the first time I made Chocolate Turtle Apple Slices—my kitchen smelled like a candy shop, and my friends were fighting over the last piece! Combining crisp apple slices with gooey caramel, silky chocolate, and a sprinkle of toasted pecans is a game-changer. Studies say people eat with their eyes first, and trust me, this dessert wins before you even take a bite. Whether you’re prepping for a fall festival, holiday party, or just need a Tuesday night pick-me-up, this recipe is your shortcut to sweet happiness.
Ingredients You’ll Need for Chocolate Turtle Apple Slices
When I first tried making these, I underestimated how much the type of apple mattered. Big mistake. The first batch? Soggy and way too sweet. Now, I swear by Honeycrisp or Granny Smith—Honeycrisp for that juicy crunch, Granny Smith for the tart punch that cuts through all that caramel and chocolate.
Caramel can be a diva if you’re not careful. Store-bought caramel squares are the quick-and-easy route (just a little splash of cream when melting keeps them smooth). But if you’ve got the time, homemade caramel has this deep, buttery richness you just can’t fake.
Chocolate is a “choose your adventure” moment. Dark chocolate gives a grown-up vibe, milk chocolate keeps it classic, and white chocolate feels fancy—like something from a holiday display. I keep it simple with chocolate chips, but chopping a good-quality chocolate bar makes the melt smoother.
Pecans are non-negotiable for me. I toast them lightly before adding—they get this nutty, almost sweet aroma that makes the whole thing pop. If you’ve got nut allergies in the crowd, crushed pretzels or even crispy rice cereal give you that crunch without the risk.
Extras? Oh, I’ve gone rogue with mini marshmallows, shredded coconut, even a sprinkle of flaky sea salt. They’re basically blank canvases for whatever craving hits.
My quick tip: Line up all your ingredients before you start. This recipe moves fast once the caramel melts, and trust me—you don’t want to be digging in the pantry with caramel hardening on the stove.
Step-by-Step Instructions
1. Prep the Apples
First thing—slice your apples about ½ inch thick. Too thin, and they’ll flop under the caramel; too thick, and it’s like biting into a softball. I keep the skin on for texture, but you can peel if you’re feeling fancy. Pro tip? A quick dip in lemon water keeps them from turning that sad brown color before you even get the caramel on.
2. Melt the Caramel
Caramel can go from silky to scorched real fast. I toss caramel squares in a saucepan with a splash of cream over low heat, stirring like my life depends on it. If you smell burning sugar—game over. Start again. If you’re using homemade caramel, keep it just warm enough to flow; too hot and it’ll slide right off the apples.
3. Chocolate Time
While the caramel’s doing its thing, melt your chocolate in a heatproof bowl over simmering water, or just microwave in 20-second bursts (stirring every time). I used to just nuke it all at once—big mistake. It seized up like a brick. Now, patience is my secret weapon.
4. Assembly Line Magic
Lay your apple slices on parchment paper. Spoon or drizzle caramel over each slice, then let them sit a couple minutes so it firms up just enough. Next, the chocolate goes on—smooth it with the back of a spoon or let it drip naturally for that “Pinterest perfect” look.
5. Top It Off
Sprinkle your toasted pecans while the chocolate’s still melty so they stick. If you’re adding extras—sea salt, coconut, sprinkles—this is the moment. Once everything’s decorated, let them set for about 10–15 minutes. I’ve put them in the fridge before, but the chocolate sometimes blooms (that weird white film), so I usually just let them sit at room temp.
Little confession: The first time I made these, I didn’t wait for the caramel to set before adding chocolate. Ended up with a sticky, chocolate-caramel puddle. Tasted great, but definitely not Instagram material.
Tips for Perfecting the Recipe
1. Stop the Browning Battle
Apples turn brown faster than I can hide the last cookie from my kids. A quick dip in lemon water (1 tablespoon lemon juice to 1 cup water) keeps them looking fresh for hours. Just don’t soak too long or they’ll pick up that tangy flavor—thirty seconds is perfect.
2. Caramel Consistency Is King
Too runny and it drips everywhere. Too thick and you’ll pull a tooth trying to bite it. I keep mine at a slow bubble just until it coats the back of a spoon. If it starts to thicken mid-dip, a teaspoon of warm cream will bring it back to life.
3. Cool Like a Pro
I learned this the hard way—rushing the cooling process is a recipe for a melty mess. Lay your slices on parchment paper and give them at least 10 minutes between caramel and chocolate layers. That little wait keeps the layers neat and photo-ready.
4. Leftover Storage Without the Sad Sogginess
These are best the day you make them, but if you must store them, put parchment between layers in an airtight container and pop them in the fridge. Just know the apples soften over time, so “next day” is really your max.
5. Make-Ahead Party Trick
If you’re prepping for a crowd, slice the apples and prep toppings the night before, but don’t assemble until a couple hours before serving. Keeps everything crisp and avoids that dreaded wet caramel situation.
True story: I once made these at 8 a.m. for a 6 p.m. dinner party. By the time dessert rolled around, the apples had gone from “crisp autumn dream” to “sad cafeteria fruit.” Never again.
Creative Variations to Try
1. Tart vs. Sweet Apples
Granny Smith apples give you that punchy tartness that makes the caramel and chocolate sing. But if you want a sweeter bite, Honeycrisp or Fuji are dreamy. I’ve even done half-and-half at parties—keeps everyone happy without turning into the Apple Debate Club.
2. White Chocolate Snow Drizzle
Melt some white chocolate and flick it over the top like a Jackson Pollock painting. It looks festive—perfect for Christmas plates or winter birthdays. Plus, the contrast against dark chocolate is a total crowd-pleaser.
3. Peanut Butter Caramel Twist
Mix a spoonful of creamy peanut butter into the caramel before drizzling. It’s like a Reese’s cup and an apple had a love child. Warning: highly addictive.
4. Sea Salt Sprinkle
This is my go-to for when I want to look like I know what I’m doing. That pinch of flaky sea salt makes the sweetness pop. People will think you took a culinary course, when really you just grabbed Maldon from the pantry.
5. Kid-Approved Sprinkle Party
Skip the pecans and let the kids decorate with rainbow sprinkles or mini M&Ms. It gets messy—okay, really messy—but they’re too busy licking chocolate off their fingers to notice.
Confession: My “most pinned” version ever on Pinterest? The peanut butter caramel one. I think it’s because no one can resist that salty-sweet combo.
Chocolate Turtle Apple Slices aren’t just a dessert—they’re the kind of treat that makes people hover by the kitchen waiting for “just one more.” The crunch of fresh apple, the ooze of caramel, the snap of chocolate, and that nutty pecan bite? Absolute harmony in every mouthful.
They’re simple enough to whip up on a Tuesday but special enough for a holiday platter. And trust me, once you’ve made them a couple times, you’ll start experimenting with your own twists. (Just don’t skip the parchment paper—I learned that lesson the sticky way.)
So next time you’re scrolling for a crowd-pleasing, picture-perfect treat, remember these little beauties. And hey—if you make them, snap a photo and share it on Pinterest. Who knows? Yours might just be the next pin everyone’s drooling over. 🍏🍫
Print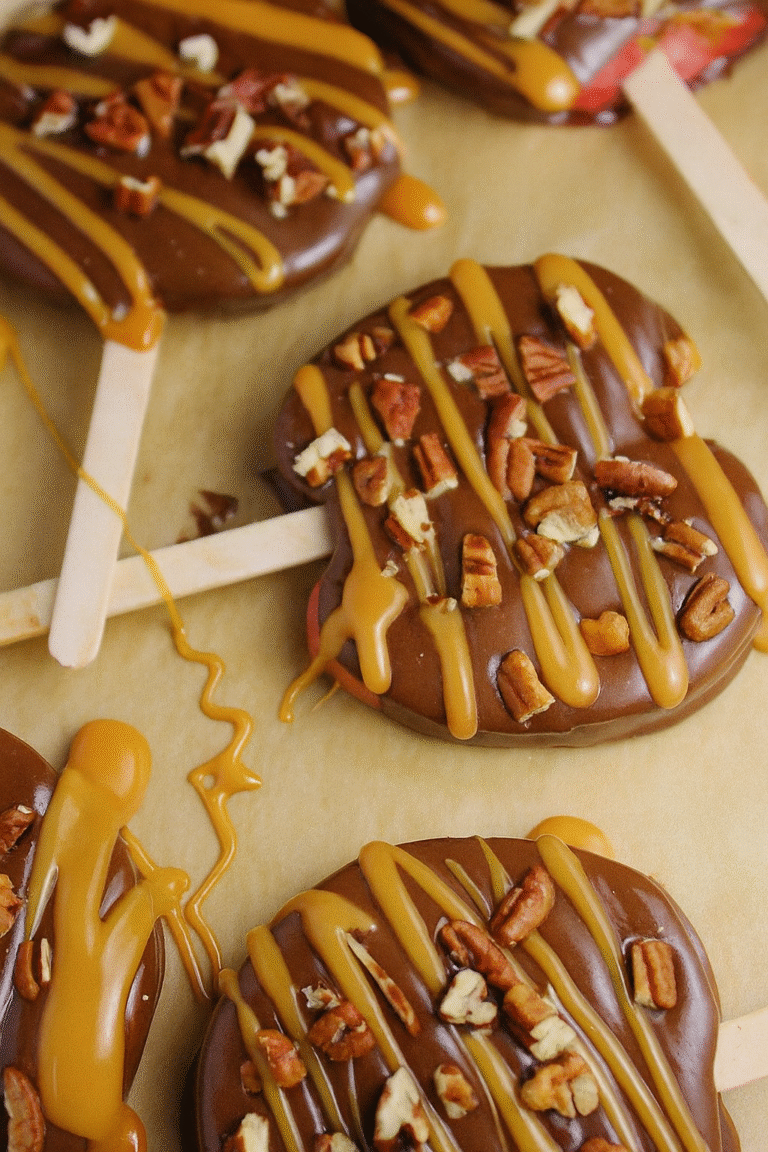
Chocolate Turtle Apple Slices
Crisp apple slices topped with gooey caramel, smooth chocolate, and crunchy toasted pecans for a crowd-pleasing sweet treat perfect for parties or cozy nights in.
- Total Time: 30 minutes
- Yield: 12–14 slices 1x
Ingredients
- 4 large Honeycrisp or Granny Smith apples
- 1 tablespoon lemon juice
- 1 cup water
- 30–40 store-bought caramel squares (or homemade caramel)
- 2–3 tablespoons heavy cream
- 2 cups chocolate chips (dark, milk, or white)
- 1 cup toasted pecans, chopped
- Optional toppings: mini marshmallows, shredded coconut, flaky sea salt, sprinkles
Instructions
- Slice apples into 1/2-inch thick rounds and remove seeds. Dip slices in lemon water (1 tablespoon lemon juice + 1 cup water) for 30 seconds to prevent browning. Pat dry.
- In a saucepan over low heat, melt caramel squares with 2-3 tablespoons cream, stirring constantly until smooth.
- Melt chocolate in a heatproof bowl over simmering water or in microwave-safe bowl in 20-second bursts, stirring each time until smooth.
- Arrange apple slices on parchment paper. Spoon or drizzle caramel over slices and let sit for 2-3 minutes until slightly set.
- Drizzle or spread melted chocolate over caramel layer.
- Sprinkle toasted pecans and any optional toppings while chocolate is still soft.
- Allow to set at room temperature for 10-15 minutes before serving.
Notes
For best results, enjoy the same day. To store, layer between parchment in an airtight container in the fridge for up to 24 hours. Avoid rushing cooling time for neater layers.
- Prep Time: 20 minutes
- Cook Time: 10 minutes
- Category: Dessert
- Method: No Bake
- Cuisine: American
Nutrition
- Serving Size: 1 slice
- Calories: 180
- Sugar: 20g
- Sodium: 40mg
- Fat: 9g
- Saturated Fat: 4g
- Unsaturated Fat: 4g
- Trans Fat: 0g
- Carbohydrates: 26g
- Fiber: 2g
- Protein: 2g
- Cholesterol: 10mg


